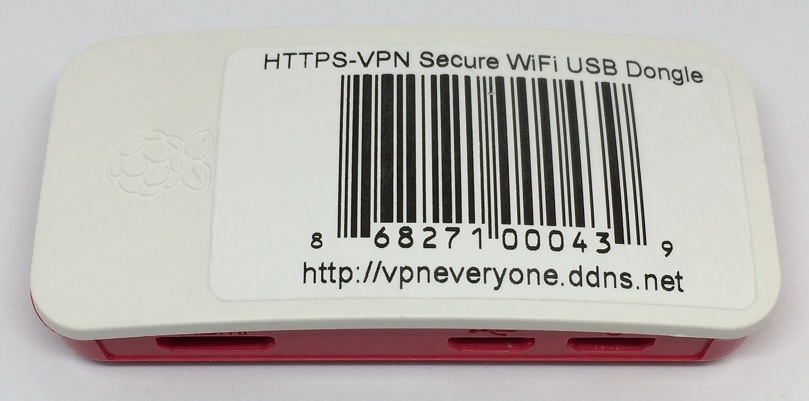
DIY HTTPS-VPN Secure WiFi
USB Dongle
|
HTTPS-VPN Secure WiFi USB Dongle for those who need to travel overseas
where standard IPsec VPN or OpenVPN
is blocked. Proven technology that successfully bypasses Great-Fire-Wall. |
This product is offered at Amazon for $119.99. Search “HTTPS VPN USB Dongle” to find it.
This document shows you how to DIY for <
$10
Hardware
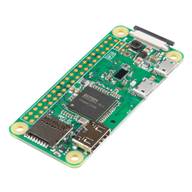
· Raspberry Pi Zero W board.
Get it for $5 from https://www.microcenter.com/product/486575/zero-w
·
Enclosure
(optional).
Get it for $3.99 from
· MicroSD card
Re-use your old microSD card. Any card >= 64MB is good.
You may get it from eBay for $2
·
MicroUSB cable
Re-use your old Android phone charge cable.
Free Software
Free to download from http://vpneveryone.ddns.net/download
Free VPN Subscription
30 days free VPN subscription is included in each download. After 30 days, you can download again and re-program microSD card for another 30 days.
Lifetime free download, the only limitation is one download per IP per day, to avoid being abused by robot.
Step-by-step Build Procedure
1.
Download software image for “HTTPS-VPN Secure WiFi USB Dongle” from
http://vpneveryone.ddns.net/download
2.
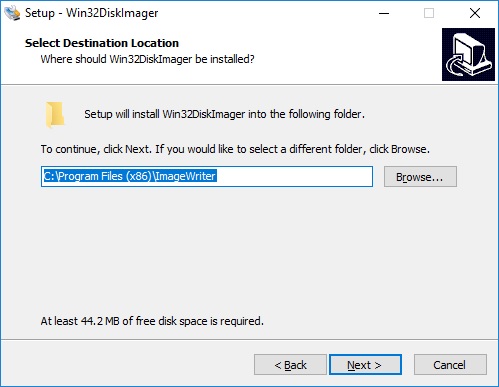
Download
Win32DiskImager from http://sourceforge.net/projects/win32diskimager/files/latest/download
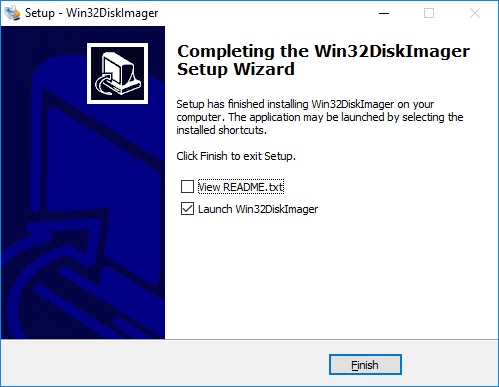
3.
Install
Win32DiskImager


4.
Program MicroSD
card.
Insert microSD in USB reader and plug the reader in PC. Select the software image downloaded earlier.
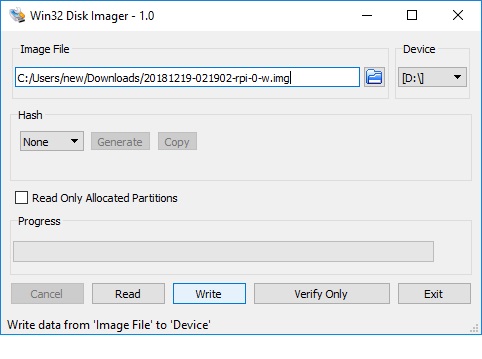
Click “Write”
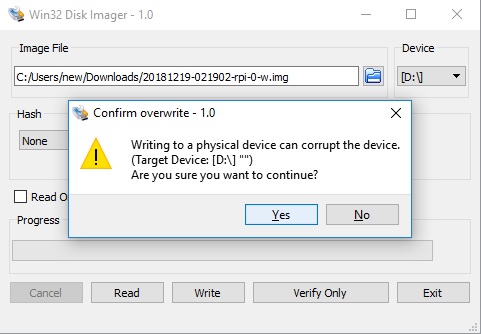
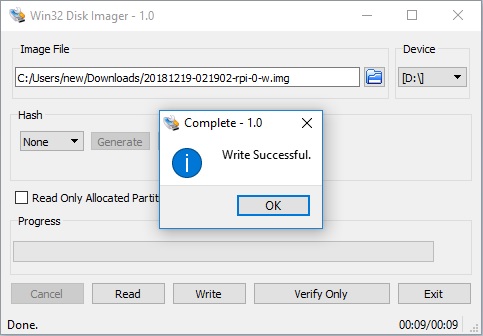
Windows 10 would pop up question like below. Do NOT “Format disk”. Click “Cancel”
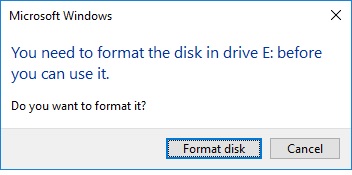
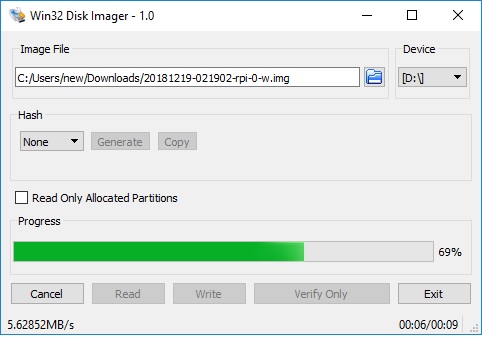
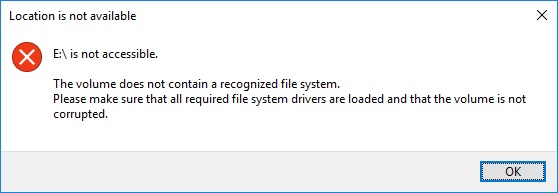
Ignore Windows message “E:\ is not accessible”. The image partition is NOT meant to be accessible by windows.
5. Remove microSD USB reader from PC. Take out microSD card. Insert it in Raspberry Pi Zero W board.
6. Plug one end of USB cable in the center connector of board, the other end on PC.
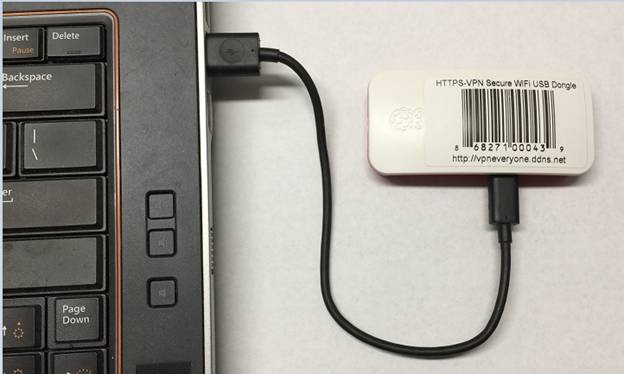
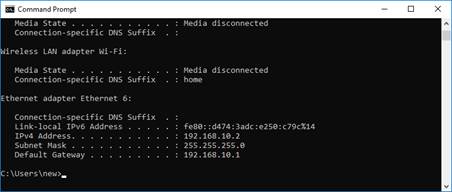
7. In about 30 seconds, an USB-to-Ethernet adapter with IP 192.168.10.2 should show up on PC.
8. Start a web browser. Use http://192.168.10.1 to access USB dongle configuration page.
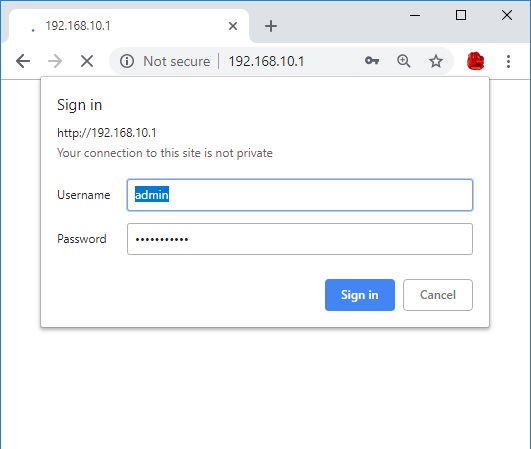
Default username / password is admin / vpneveryone
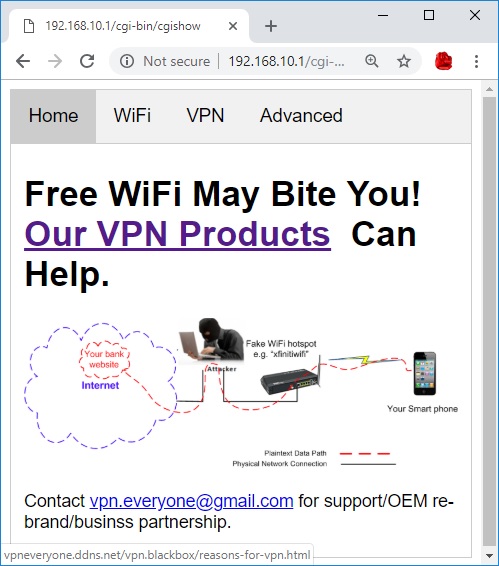
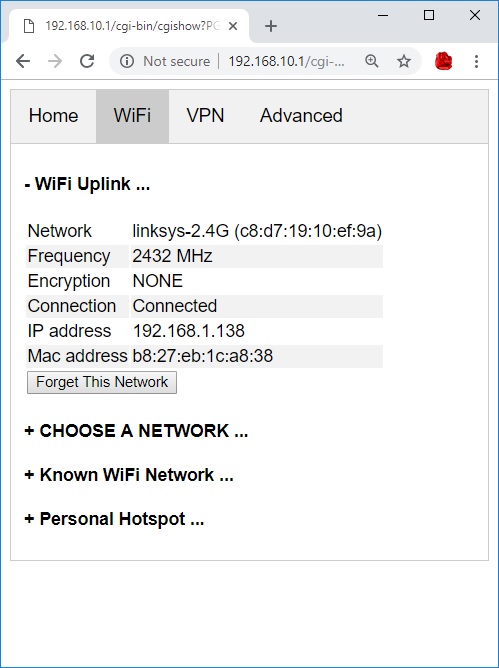
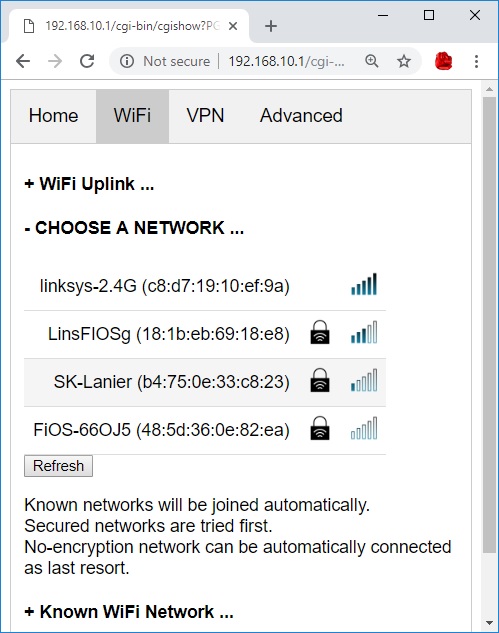
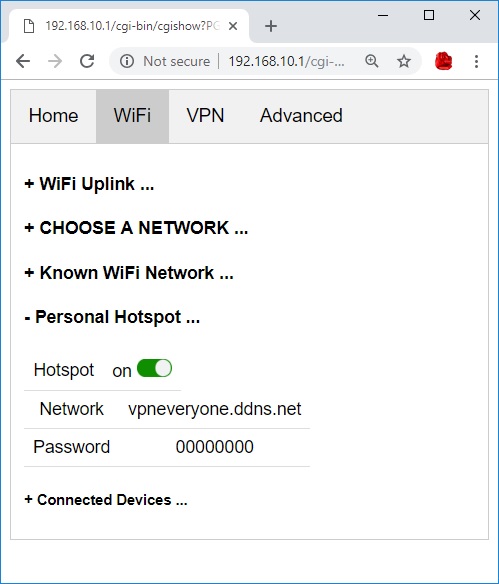
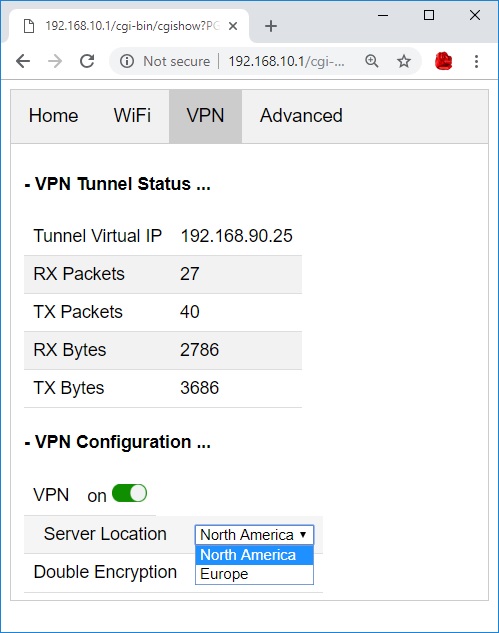
9. The UI is simple and straightforward.
Go to Official Product Page